Because
Unclean, of
HeavyGear-France asked me about my basing texture, I'll give quick step by step. I'd like to state first that this is the way I do it. There are many better ways. You will probably prefer some more flashy way of basing, and CMON is full of gorgeous bases that look so much better than mine.
I came up with this basing process because I didn't like sticking minis in slotted bases, and then applying some flock or texture. I like pinning. I love pinning. If you play with HG miniatures for any length of time, because they are so poseable and therefore have a lot of fragile parts, you'll learn to love pinning too. But I also like simplicity. And speed. This method is meant to represent some very broken ground, with lots of slate or maybe something vaguely volcanic. I was also inspired by the way mud dries and cakes in dried-up lakes and such.
The first step is to take your standard hexagonal base and a sheet of cork (the kind that's used for pinning things on your wall, for example). I used to prefer GW's round bases, but after much reflexion, I find the though more expensive, DP9 Hex bases are just of superior quality.

The second step is to plug the slot in the base. I use toothpicks and standard PVA glue.

Then, tear a small piece of cork that will vaguely cover your hex, but leave some clear areas. You want an irregular shape that will look more natural. You also want to tear strategically so that your cork is of the proper shape for your mini's feet to stand on, and also so that you don't have to pin through the toothpick. Glue it in place with PVA glue and let it dry completely overnight.

Apply white primer to the base. I use spray, but you can use brush-on primer if you want. I'm lazy that way.

Next, give the base a couple coats of diluted paint. I use Citadel's Foundation line here (Kalthan Brown, I think) because it has rich pigments with very good coverage. But even so, because you are working with cork, two coats at least will be necessary since the cork will "drink" the first one.

Brush lighter colours on the elevated cork area of the base to give it depth. Apply PVA glue around it and sprinkle on the basing material of your choice. I am a very big fan of the Japanese company Kato, producers of railway models, when it comes to these things. Very high quality, very low cost. Remove any excess material before it dries in place.

Finally, pin your mostly painted model in place through both feet. Here is an unfinished Cheetah on such a base. Make sure to spray varnish on the base after the PVA is entirely dry, as the varnish will provide added solidity to you base.

Ta-daa! They don't look perfect, but these bases are guaranteed to be fast, tough, and provide a feeling of unity to your army. You can add extras such a lichen or rocks, but I like fairly bare bases that don't distract from models. Enjoy!


 First, Separate all the bits. Choose which weapon you're going to use. Remove the basing slot. Clean all mold lines and repair any defect before moving on to the next step. Here, I'm working with an Anolis Gear.
 Drill a hole in the middle of the circle in the leg half of the miniature. This is usually not necessary, but with this particular miniature, the joint will be too flimsy without a pin. I always simply "eyeball" my holes and I've never had any problems. Just be careful and always "dry fit" parts before actually gluing them together.
 Here you can see the hole. Only a couple millimeters deep is enough.
  Insert the pin. I always use bits of metal paperclips cut in short segments. It's cheap, and it still has a little bit of flexibility to it, as opposed to something like an actual pin, which is more likely to break in case of shock.
 Do the same thing for the backpack, being very careful to keep your holes aligned and not to drill all the way through the backpack.
 At this point glue together legs, torsos, and backpack. Your miniature's pose is going to be pretty much final after this point, so think it through.
 Here I glued the head on, which doesn't require pinning, and Ive drilled a hole where the arms will fit. Again, this will act to reinforce the bond between limbs and torso.
 Stick pins in the drilled holes and glue them in. Make sure the pins are roughly aligned together, so that your Gear's shoulders don't have a weird look to them later on.
 Your weapons are going to stick out and come off easily if you don't make sure they are sturdy enough. Here, I have used a pin in the fist, again being careful not to drill all the way through. Drill a matching hole where the gun handle is. The gun is a small part, so be extra careful and take your time. Start by drilling very lightly so as to create a guiding hole in the gun and then go for it. If you drill too hard right away, chances are you'll misalign your pin or damage you weapon.
 Here, I have affixed a medium rifle to my Anolis. Yes, I know it's an illegal swap. Sue me. The problem with this Gear and the arms I have to go with it is that the Very Light Autocannon it's supposed to carry just doesn't fit: it's to small for the barrel to rest into the Gear's left hand. Plus, The medium rifle looks better.
 Finally, I drill holes into both feet and stick in longer bits of paper clip. These will be used to pin the Anolis into it's base, but also to insert into a wine cork or something similar during priming, painting and finish. You want to keep your fingers off you miniature as much as possible while you're working on it.
 First, I pin the pods on paperclips and mount them on a plastic cork (natural cork it to hard to pin something into). I then prime them.
 Second, I basecoat them in black. In this case, I used two thin coats to get a really even color without losing any details.
 I then brush on the metallics. In this case I used three shades, from darker to lighter: Shadowed Steel, Honed Steel and Polished Silver.
 Then, I fix the black on the front and back of the missile pod.
 Fifth, I apply decals. I just don't trust myself to get a good result through freehand. After the decals are completely dry, I brush on a generous amount of brush-on sealer, before spraying gloss varnish to really seal in the decals and prevent them from coming off later on.
 Finally, I paint the individual pods with two coats of bright red. One of my gripes with Heavy Gear miniatures is that they are often not cast as well as they should, so you often get imperfections that are very hard to fix. Missile pods are the most common victims of this, with many individual missile pods often deformed and not looking like circles at all. So at this stage, I have to make sure I get perfect red circles to at least give the illusion that the pods are perfectly formed and aligned.


 Second here is the same mini with the edge highlights done. I'm much happier with this one than with the first one, where there was much more streaking.
 But it's not always easy to paint when you have to keep fighting off intruders who like the smell of paint.
 ;)
;)


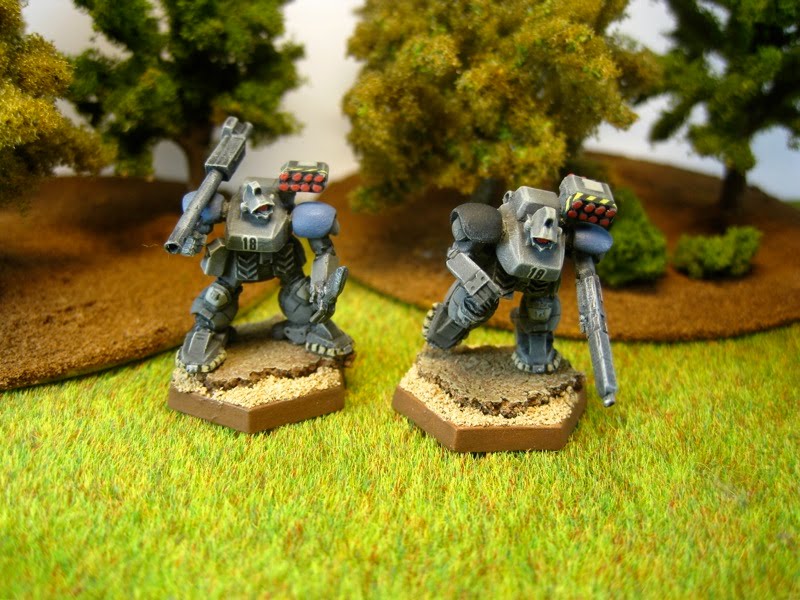
 Two Basilisks for the same army.
 A Panther, for no army in particular (the model is really cool, and it's the easiest paintjob ever.)

 Two Dartjagers. I really love the bug head...
 One caveat, though, I would very strongly recommend anyone to buy the PDF version of the new book, as they'll get a full color version, cheaper, and with eventual updates that will fix the typos and mistakes that inevitably plague Dream Pod 9's books, as well as the ability to print new copies whenever they want. For those who are buying printed versions, well... you have been warned.


